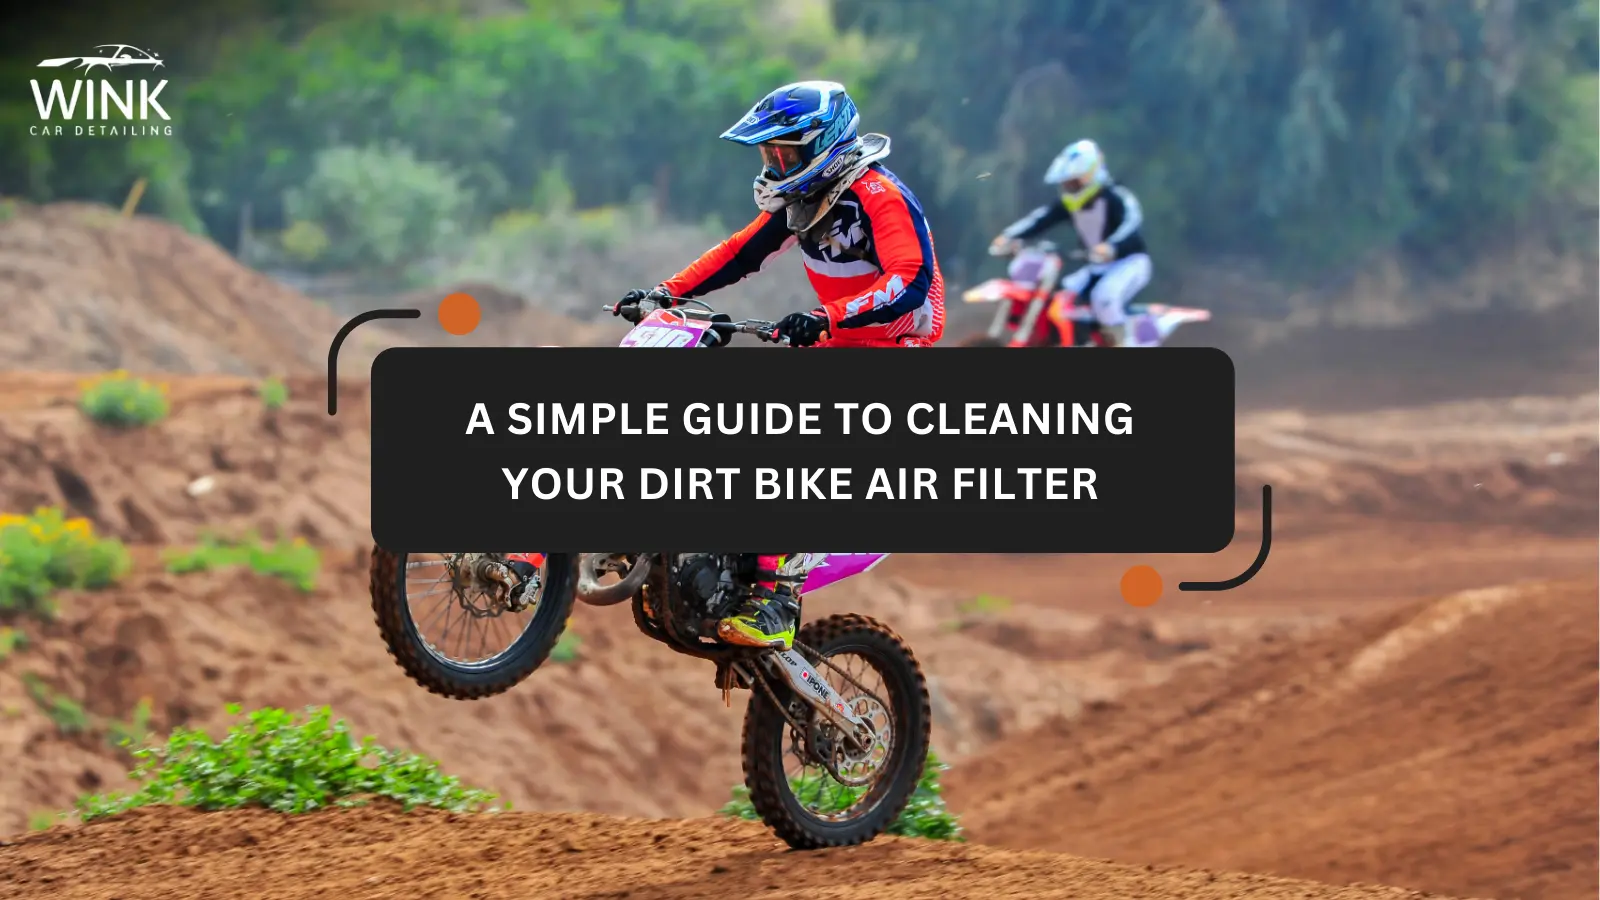
A Simple Guide to Cleaning Your Dirt Bike Air Filter
Did you know your dirt bike doesn't actually love dirt? It might seem strange, but keeping your bike clean is crucial to its performance and lifespan. After every ride, you should clean your bike thoroughly. But occasionally, you’ll need to give extra attention to certain parts—like the air filter. Maintaining a clean air filter is a small step that makes a big difference in keeping your bike running smoothly for many rides to come.
Why Keeping Your Air Filter Clean Matters
The air filter in your dirt bike plays an essential role in protecting its engine. It ensures clean air enters the engine while blocking dirt, dust, and debris. When the air filter is clogged, your bike’s performance can drop significantly. Worse, dirt and debris can enter the engine, causing damage to critical parts like rings and pistons.
The riding conditions you face also affect how often you should clean the air filter. For instance:
- If you’re riding on dusty, muddy terrains filled with potholes, you’ll need to clean the air filter after every ride.
- On smoother race tracks with less debris, you might clean it less frequently.
The safest habit is to check the air filter after every ride. If it’s dirty, give it a good cleaning or replace it if necessary.
Signs Your Air Filter Needs Cleaning
- A noticeable drop in bike performance or speed.
- A clogged or visibly dirty air filter.
- Engine sounds different or feels less responsive.
- Unusual exhaust smoke or engine overheating.
What You’ll Need to Clean a Dirt Bike Air Filter
Before you start, gather the following items to make the process easier:
- Socket or wrench
- Ratchet
- Bike stand
- Clean rags
- Warm water
- Your preferred cleanser
- Silicone grease
- Air filter oil
- Gloves
- Brush
- Replacement air filter (if needed)
It’s a messy job, so wear gloves to protect your hands.
Step 1: Remove the Air Filter
- Open the Airbox: Locate the airbox under the seat. Use a socket or wrench to open it. Be careful—small debris like sand or stones may sit on top of the filter. Avoid letting these fall into the intake when removing the filter.
- Take Out the Air Filter: Carefully lift the air filter out of its plastic support cage. Handle the cage gently to preserve the seal for when you put it back.
Step 2: Clean the Filter
- Wash the Filter: Rinse the air filter thoroughly using warm water. If your bike has a cotton filter, cold water works too.
- Use a Cleanser: Apply a suitable cleanser to remove grease and stubborn dirt. Massage the filter gently to avoid tearing it.
- Rinse Again: Wash out the cleanser until the water runs clear. Squeeze out excess water, but don’t twist or wring it, as this might damage the filter.
- Let It Dry: Allow the filter to air dry completely before moving to the next step.
Step 3: Clean the Airbox
- Wipe It Down: Use a clean rag soaked in warm water to wipe the inside of the airbox.
- Scrub Stubborn Dirt: If dirt is stuck, use a brush to scrub it out. Make sure the airbox is spotless before reassembly.
- Apply Grease: Dab a small amount of silicone grease to the filter flange. This creates a better seal and prevents dirt from sneaking into the intake tube.
Step 4: Oil the Filter
Once the filter is completely dry, apply air filter oil.
- Even Application: Ensure the oil covers every part of the filter evenly. Too much oil can clog the filter, while too little leaves it vulnerable to dirt.
- Massage the Oil In: Gently massage the oil into the filter material.
Step 5: Reassemble the Airbox
- Place the Filter Back: Put the air filter back into its plastic cage and reinsert it into the airbox. Ensure it fits snugly and forms a tight seal.
- Secure the Airbox: Tighten the airbox cover securely using your socket or wrench.
Tips for an Easier Cleaning Routine
- Clean After Every Ride: Even if the filter doesn’t look dirty, a quick check will help you catch any buildup early.
- Use High Quality Products: Invest in good cleansers and filter oil to ensure the filter lasts longer and performs better.
- Keep Spare Filters: Always have a spare air filter on hand in case one is too worn or damaged to reuse.
Impact of Neglecting Your Air Filter
Failing to clean your air filter can lead to:
- Poor engine performance
- Increased fuel consumption
- Overheating issues
- Expensive repairs due to internal damage
Cleaning Isn’t Just Maintenance—It’s Protection
Cleaning your dirt bike air filter doesn’t take much time or effort. With just 10 15 minutes, you can ensure your bike stays in great shape, ready for the next adventure. By keeping your air filter clean, you’re not only boosting your bike’s performance but also extending its lifespan.
So, the next time you head out for a ride, make sure your air filter is clean and ready to tackle the terrain. Happy riding!